How To Add A Blog Post
This guide will instruct you on how to add or edit a blog post.
What is a blog?
A weblog or blog is a website with content written on whatever topic or topics to educate the reader.
A blog consists of frequently, new posts or sometimes called articles, in reverse chronological order. So basically, the latest post appears first on a page. Plus, a blog allows for reader engagement. There’s usually a section at the bottom of the blog post for readers to comment and have further discussions with other readers.

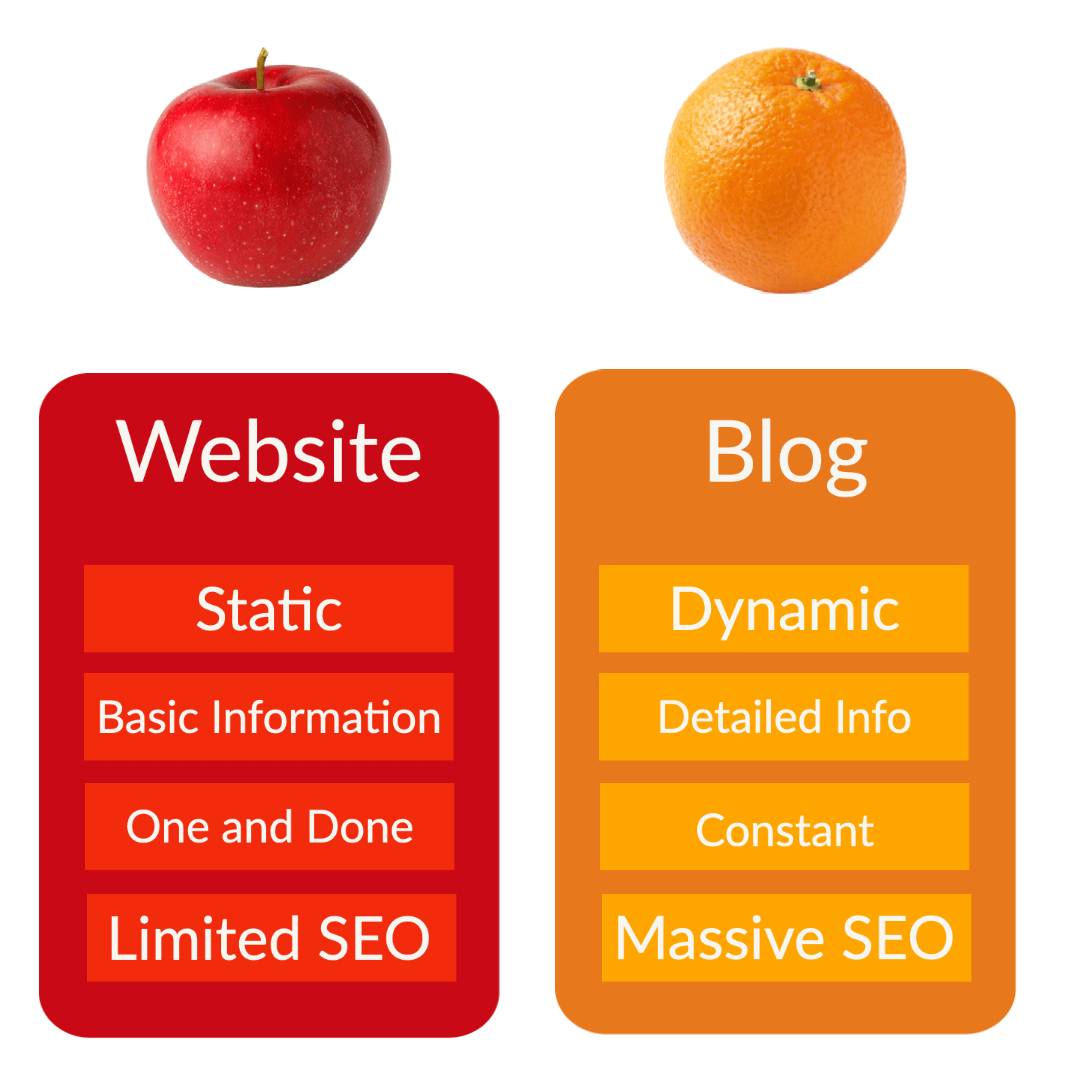
What is the difference between a blog vs website?
Blogs are a type of website. The only difference is that blogs have frequently updated content, and websites tend to be much more static and organized into pages.
A blog can be a website on its own or a part of a more prominent site. An early iteration of blogs was once used mostly for online personal journals. But once its audience-drawing power was realized, businesses began tapping into blogging’s potential too. Companies have now started to use blogs to keep their customers up-to-date with events and product updates as part of search engine optimization strategies and to keep users engaged with the information.
Staring Your First Blog Post
Note: Assume that Hibu has added a blog to the website. If not, contact customer service for assistance.
To create new blog posts:
- In the left panel, click Blog.
- Delete the 3 sample posts by clicking the their corresponding trashcan icon
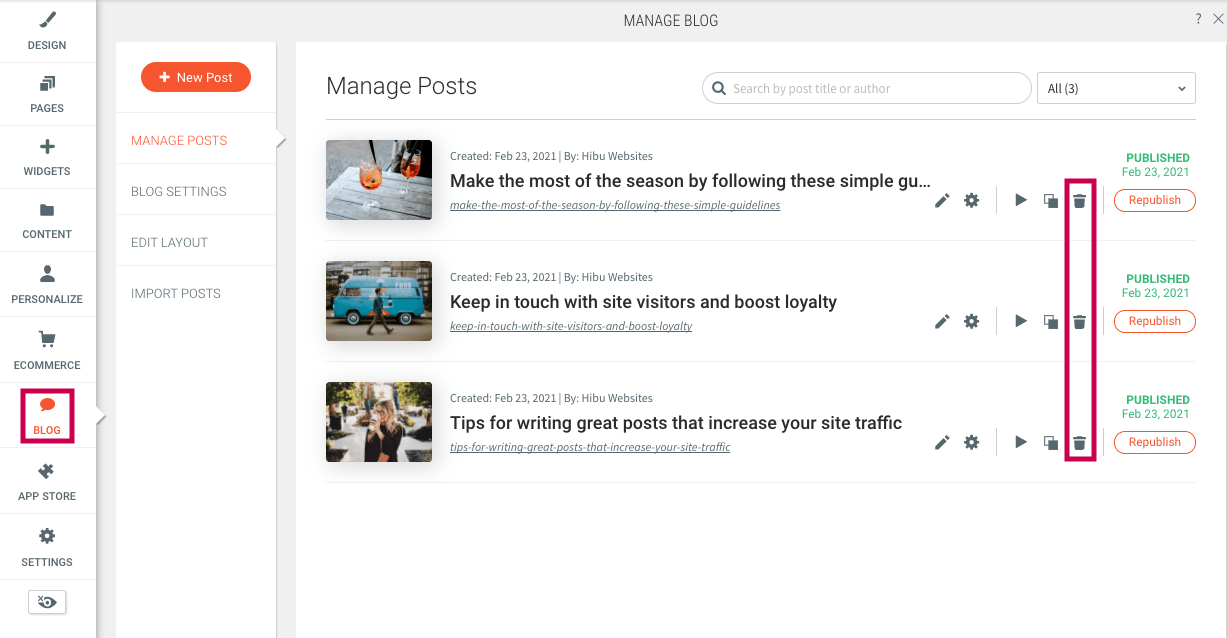
- Click New Post.
- Type a Post title for the blog, and select the Post author.
- Post Title Should Be Title Case (Capitalize Every First Letter)
- Choose "No Author" if the name is not listed.
- To add the main image (Hero image), click +Image and select or upload an image.
- Main / Hero image should be large, 2000 width X 750 height.
- Note: Abstract images work better than images with faces. Choose images that best represent the blog post focus but do not depend on a clear focal point. Instead of choosing a picture of a cook making a pizza, choose an abstract image of pizza, or instead of showing a landscaper, show a green lawn.
- Click Start.

Editing Your First Blog Posting
- Click "This is a subtitle for your new post" to edit
- Optional
- Click photo to replace or click top-right red X to delete
- Click "The body content of your post..." to edit text.
- Add photos, galleries, slide show, video, etc. by choosing Widgets and dragging into position

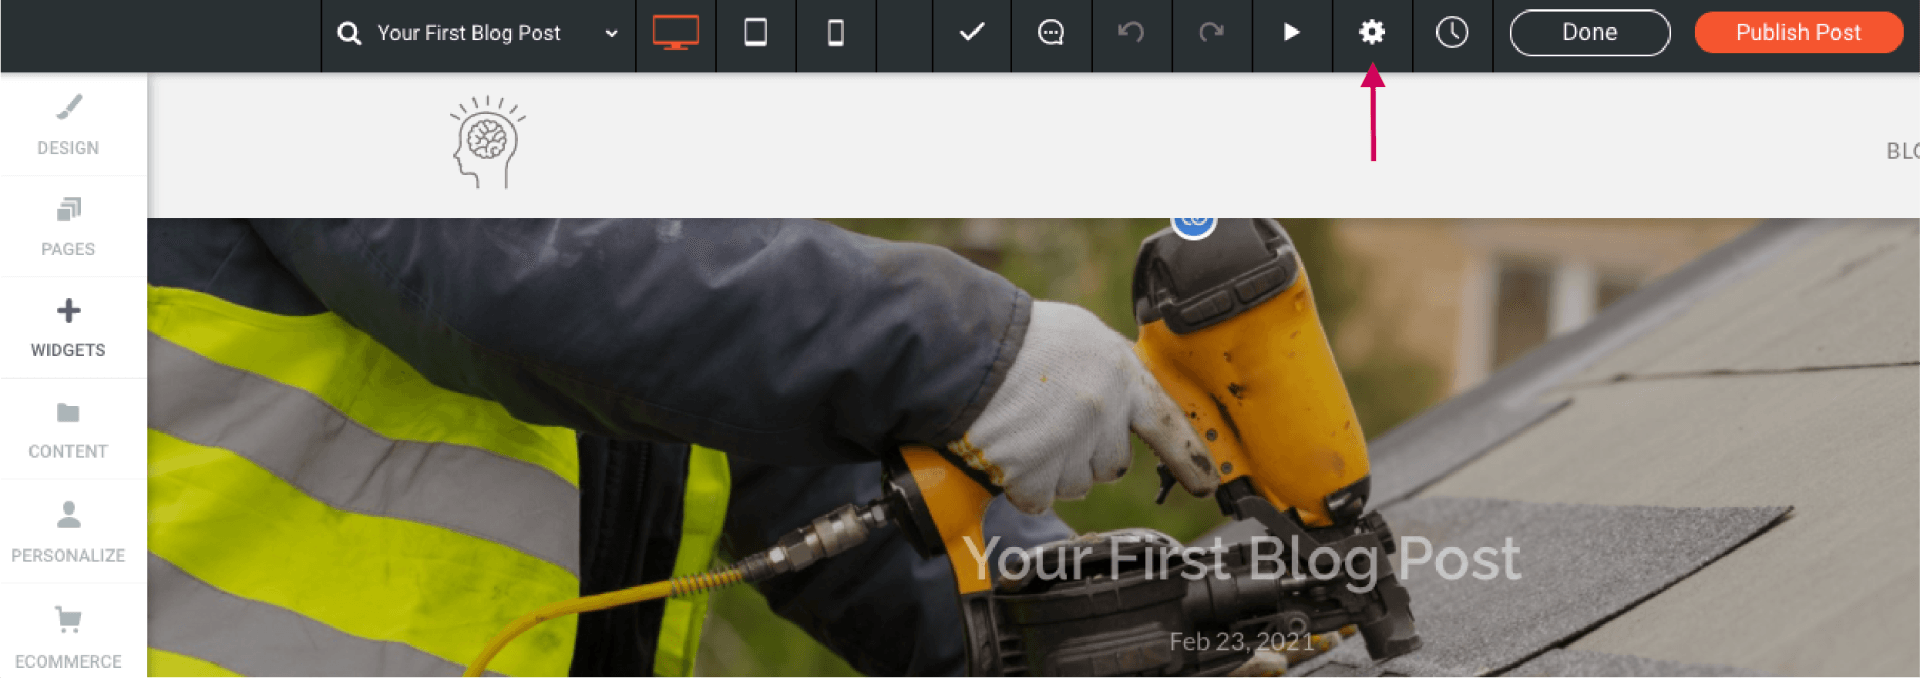
Publishing Your First Blog Post
Prior to clicking "Done" then "Publish Post" you'll want to click the gear button
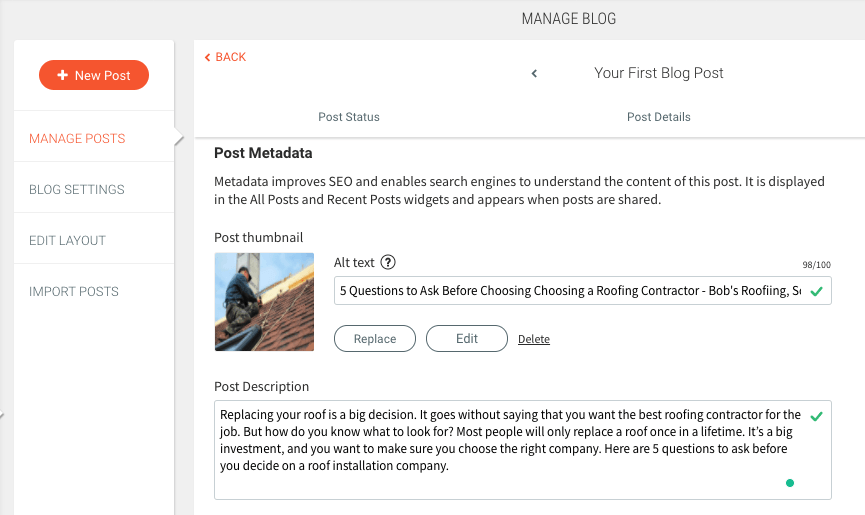
Add Post Metadata
- Add a Post thumbnail photo that is different than the Post Main Photo. Since the Post thumbnail is displayed whenever someone shares the post on social, text, email, etc, you can be more detailed with your photo sections. In other words, this photo can include faces and doesn't have to be abstract as recommended above.
- Add Alt text. Include post title, name of business (NOB), and location served. Note, there is a 100 character limit (includes spaces).
- Add Post Description. Often the first few sentences of your post will suffice. Like the Post thumbnail, this description gets included with every share. The more enticing the description to learn more, the better.
- Click the white arrow at top of screen to preview your post.
- Click < Back to edit or click Done
- Click Publish
Note: Your post is not visible until you Republish the site.
